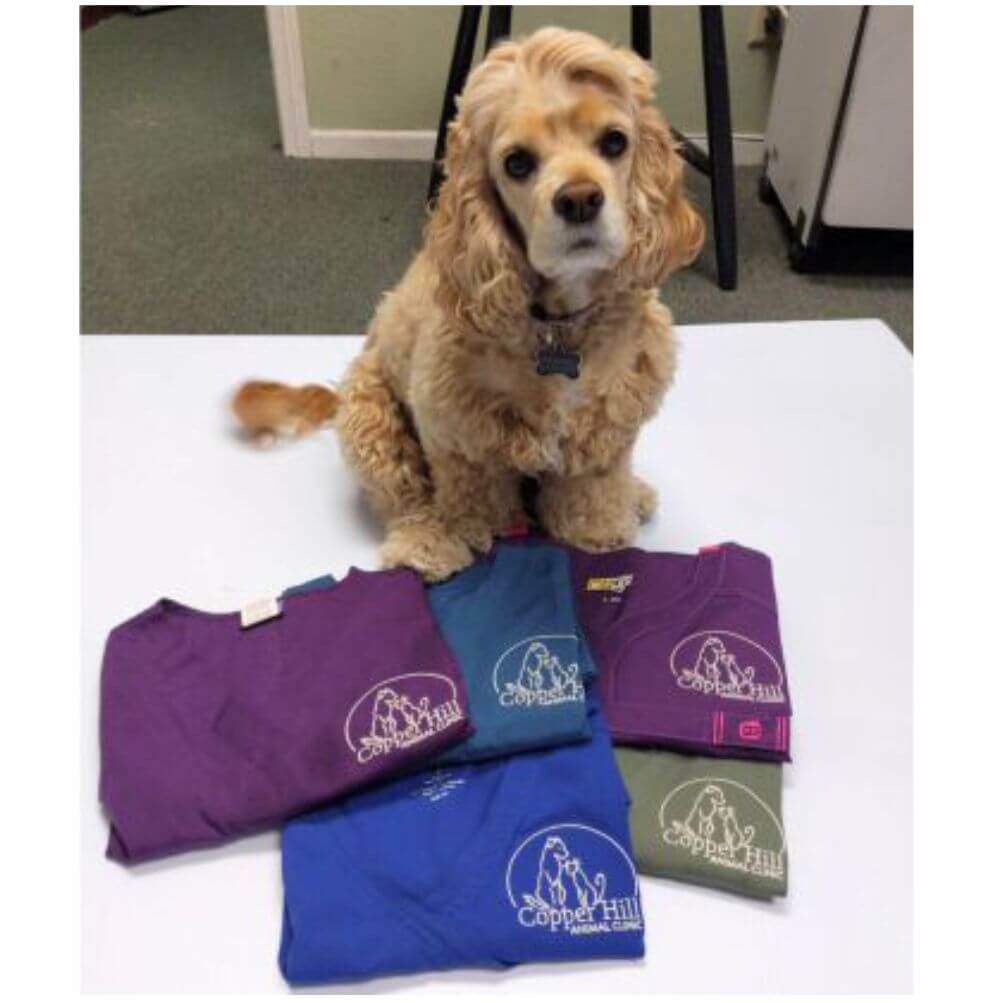
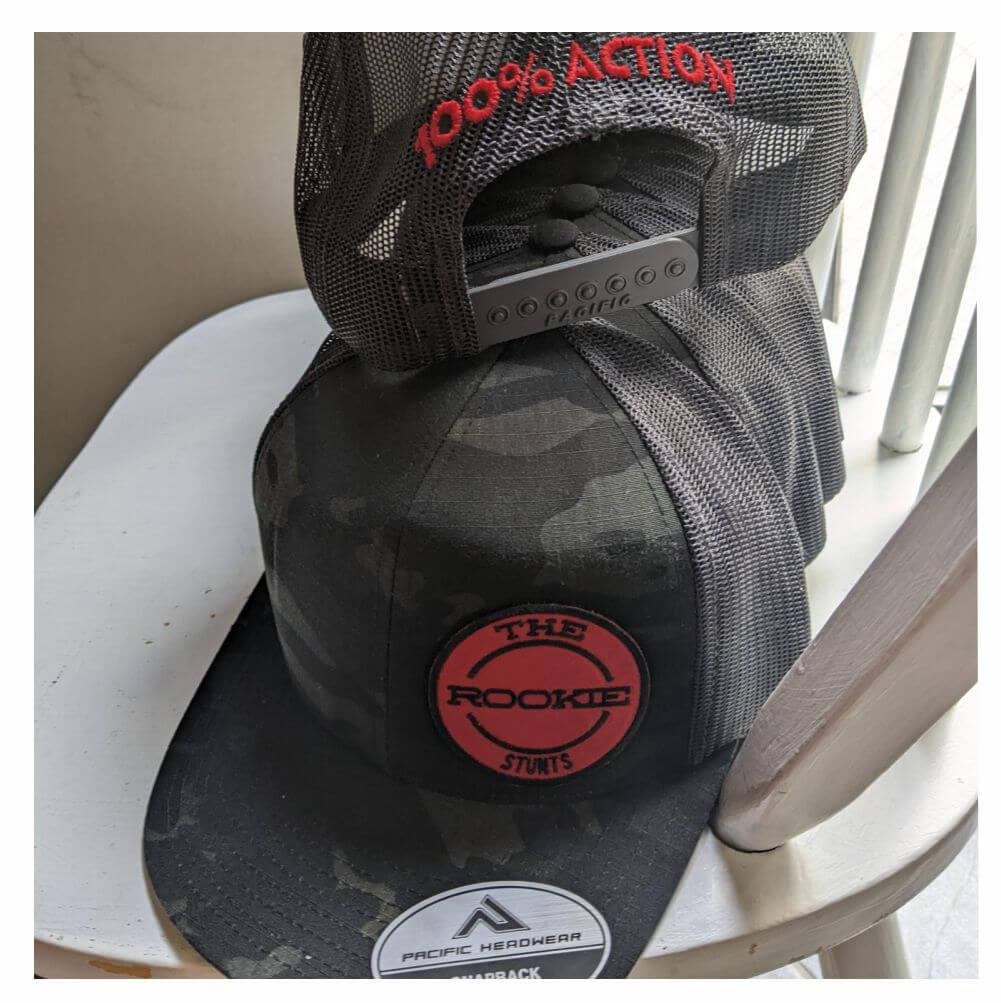
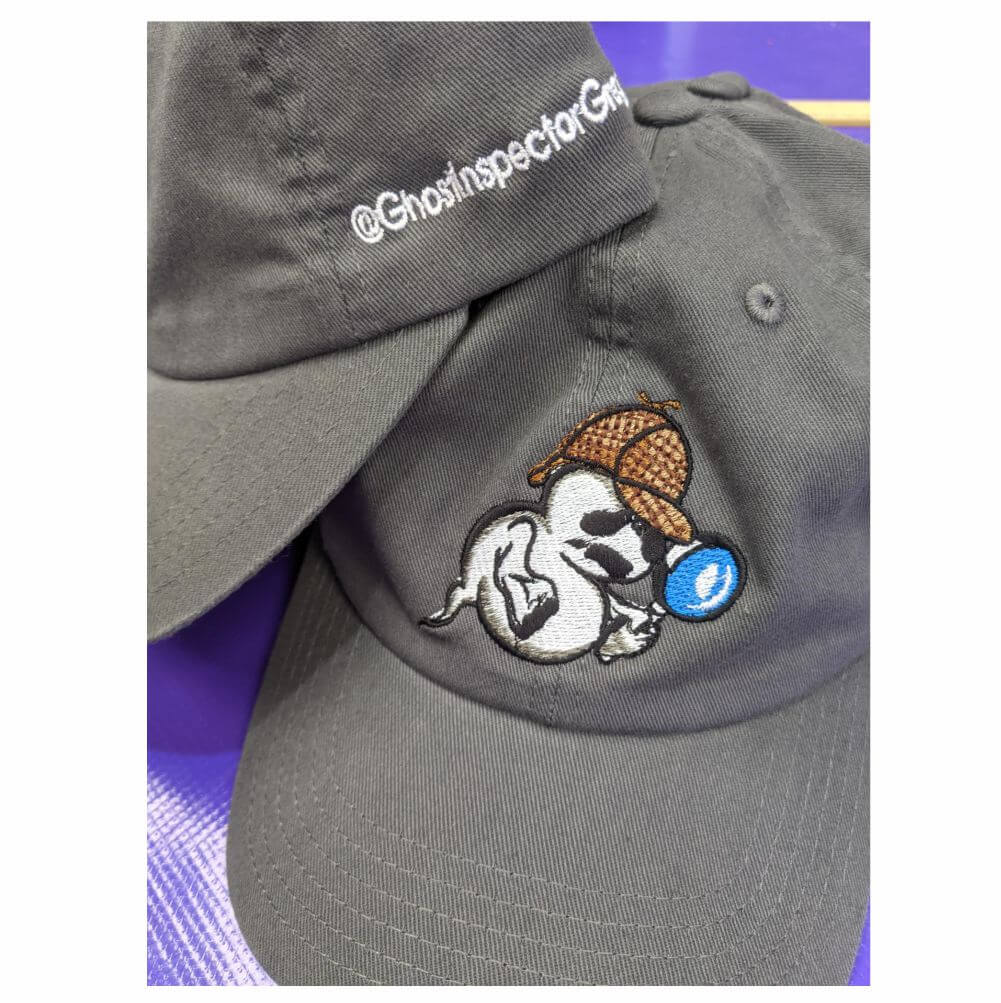
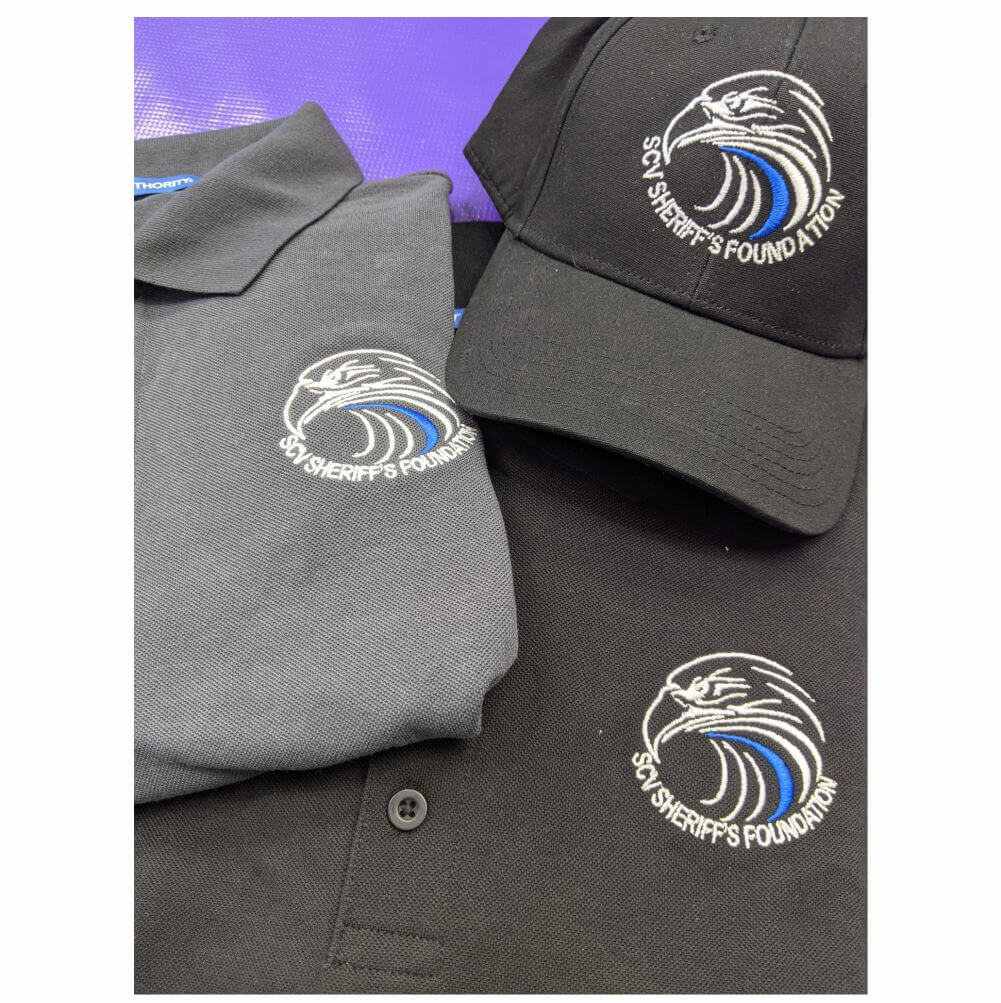
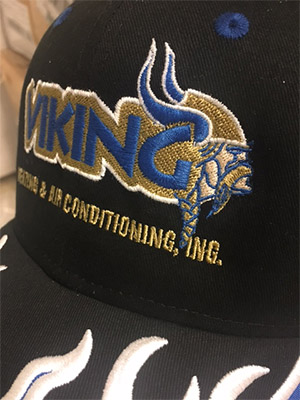
STEP in House provides custom embroidery services, include digitizing, tackle twill, patches, 3D and multimedia. We have stock designs that you can choose from or you can bring your own design and we will convert them to stitches on your items. Each design can be created in a different look. We will use multiple techniques to make your design look unique.
With our 25 years of experience in digitizing, we will bring your logo to life.
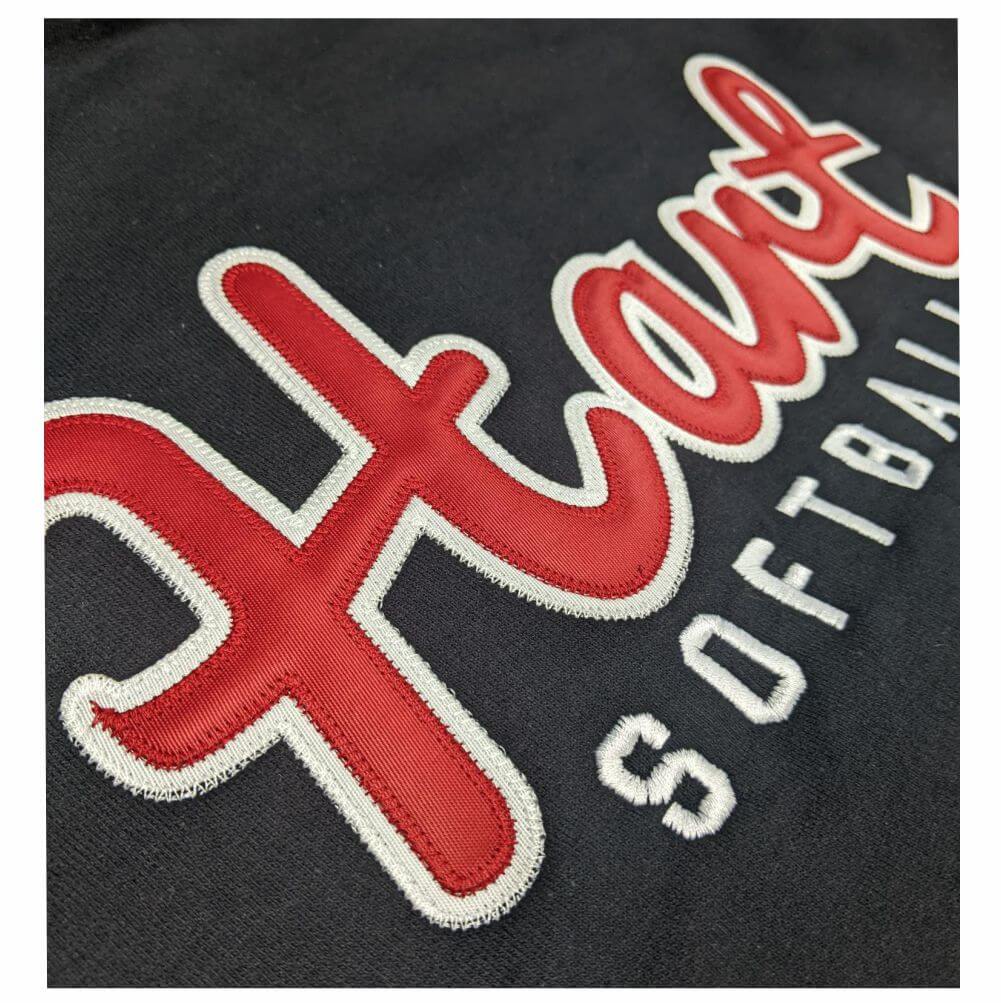
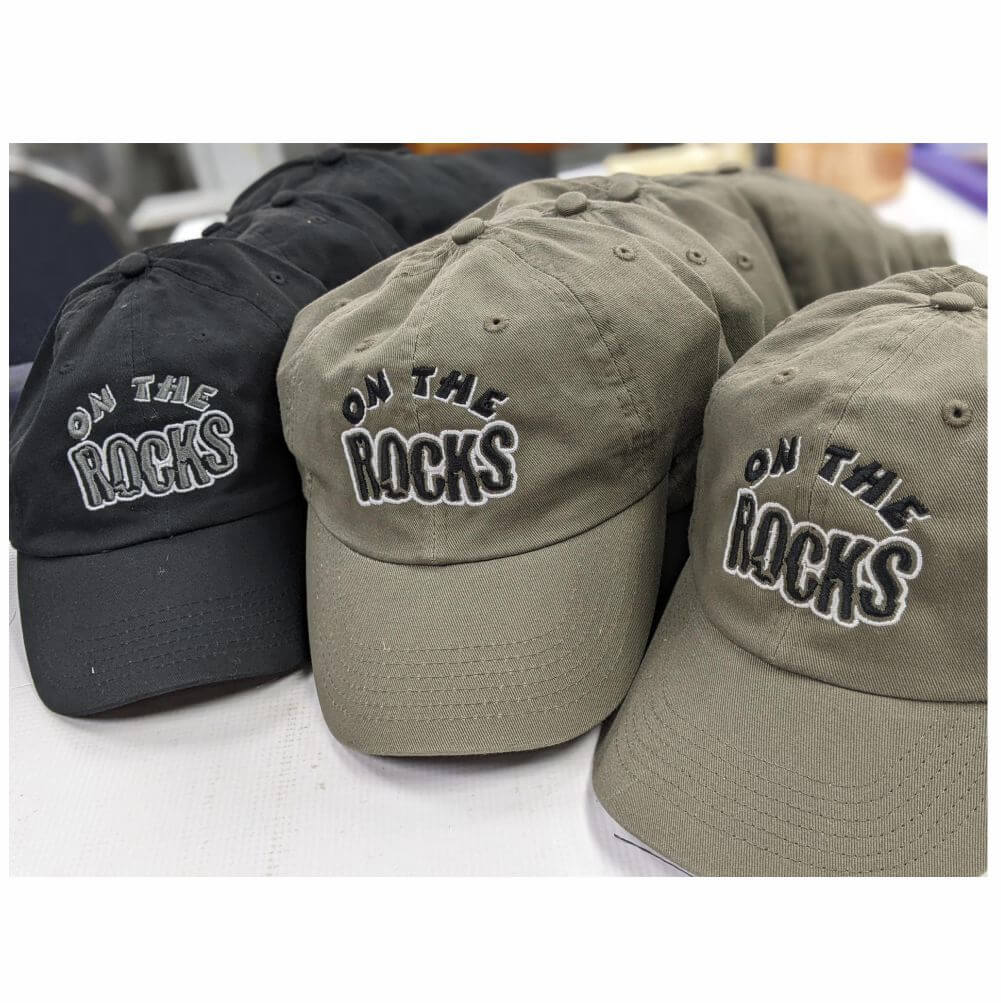
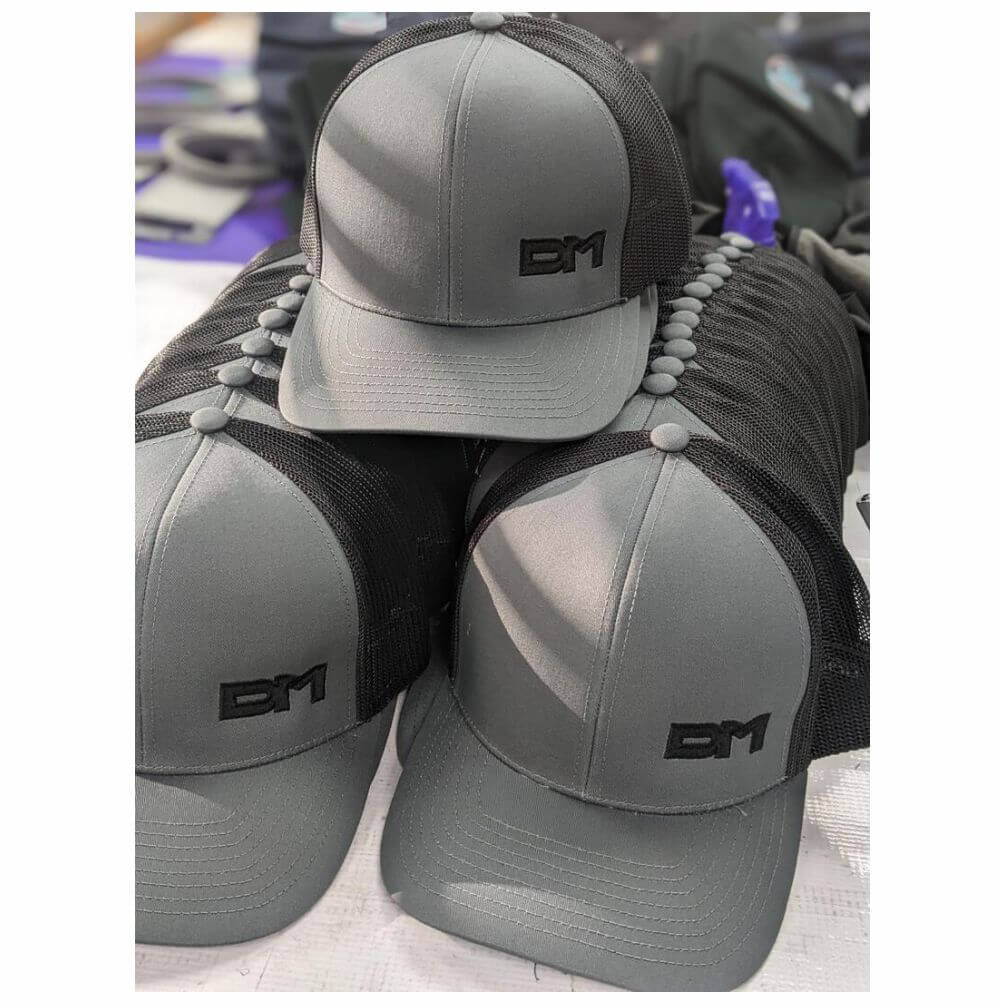
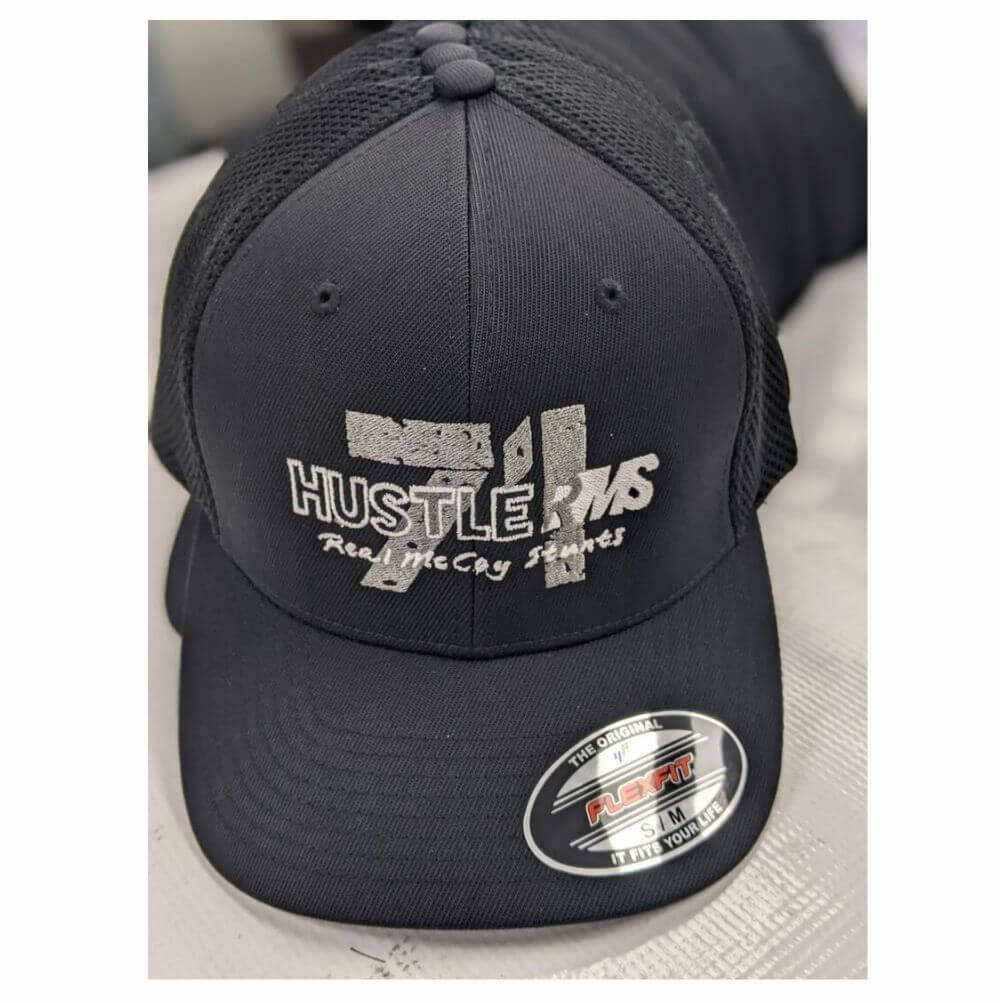
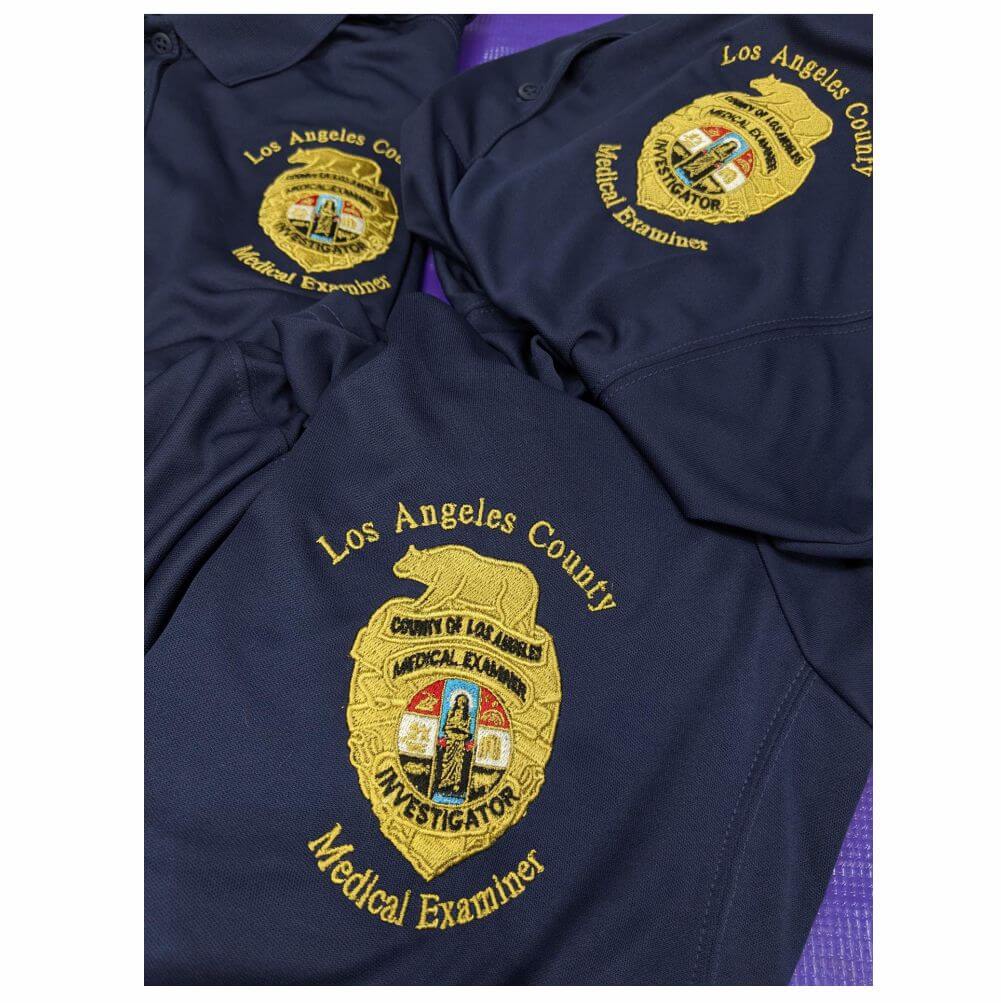
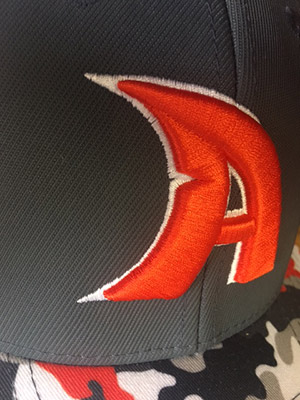
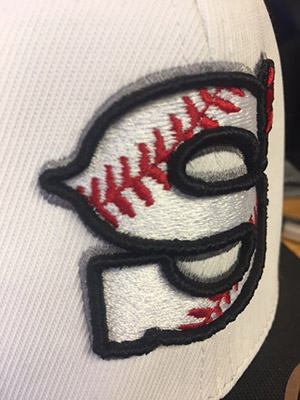
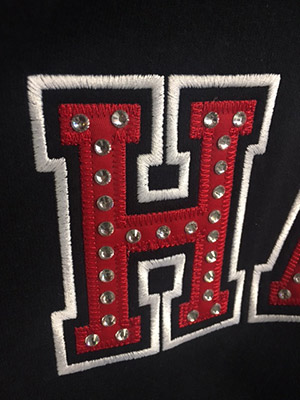
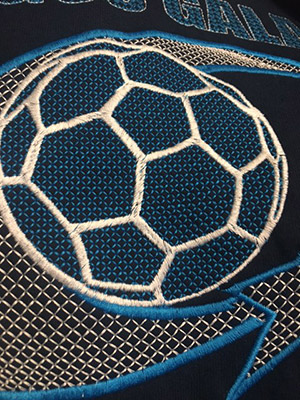
Embroidery Techniques to make your logo look unique
The Embroidery Process: How Custom Embroidered Apparel is Made for Your Business
If you’ve ever wondered how custom embroidery is done, you’re not alone! Whether it’s creating custom hats, embroidered shirts, branded jackets, or other personalized clothing, the embroidery process is a precise and skilled art form that can elevate your business’s brand presence. Custom embroidery is one of the most popular methods for adding logos, text, and unique designs to clothing because of its durability, professional finish, and timeless appeal. Whether you’re looking to create custom embroidered polo shirts for your team, personalized jackets for a corporate event, or embroidered patches for promotional giveaways, understanding the embroidery process can help you make the best choice for your business.
From digitizing your design to the final stitch, the embroidery process involves several key steps that ensure your custom apparel turns out exactly as you envisioned. High-quality embroidery uses techniques such as machine stitching, thread selection, and hooping to deliver vibrant, long-lasting results. If you’re looking to take your marketing, employee uniform, or event apparel to the next level, custom embroidery is an excellent choice. In this post, we’ll walk you through the entire embroidery process—from start to finish—so you can see how your custom designs come to life.
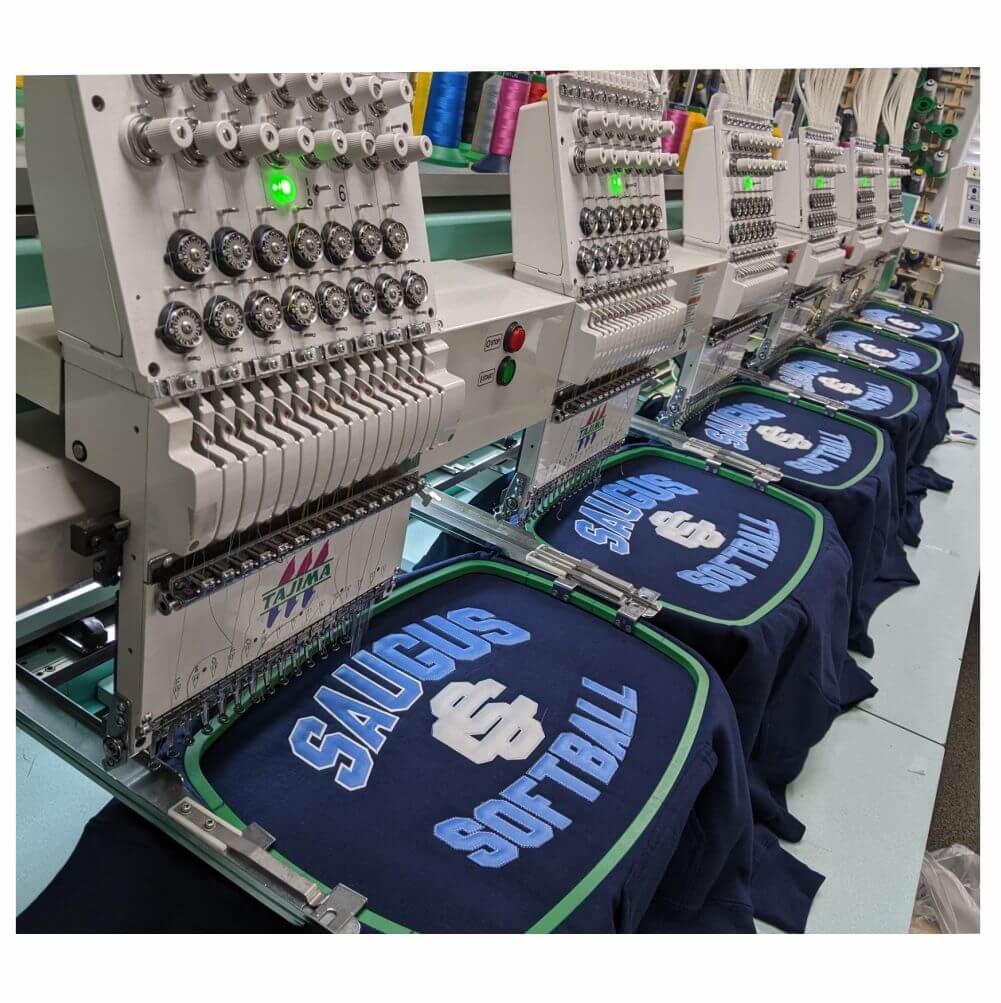
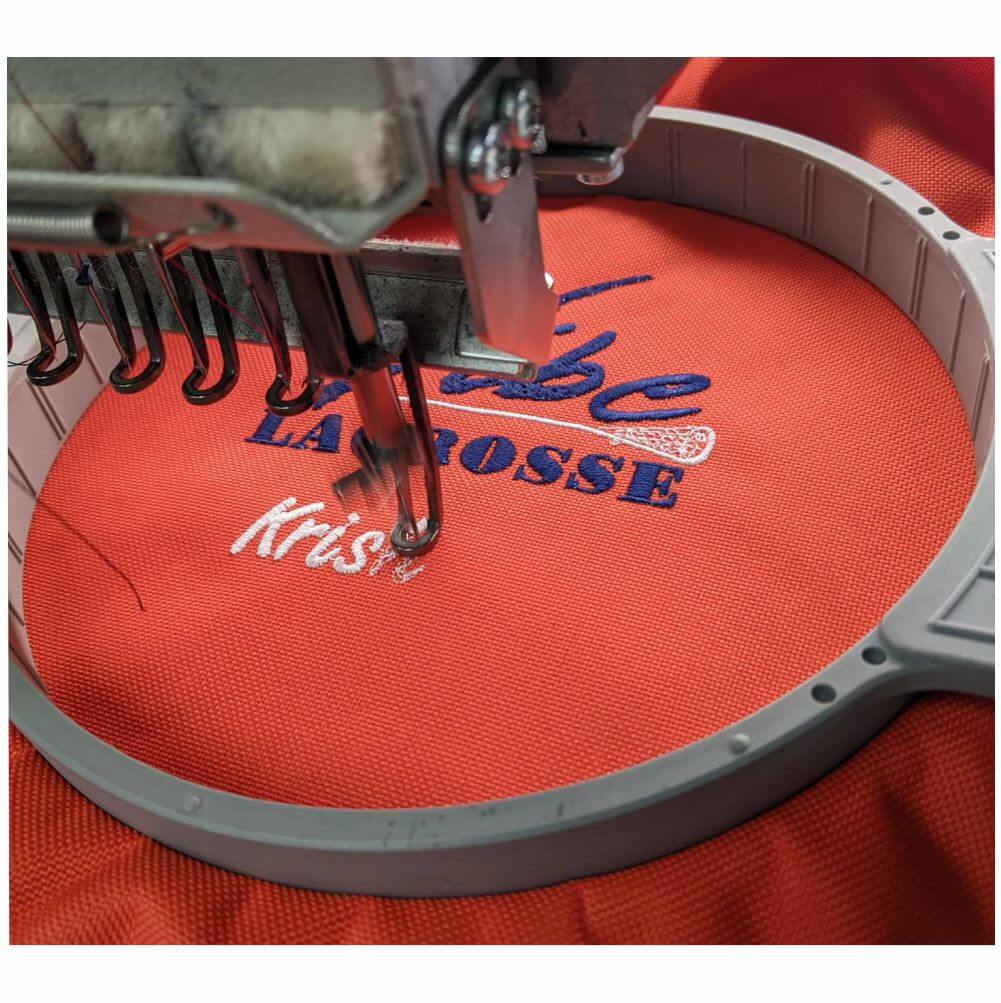
We start by digitizing your logo. Digitizing in embroidery refers to the process of converting artwork or logos into a machine-readable format that tells embroidery machines exactly how to stitch a design. This involves using specialized software to create a stitch file, where the image is translated into a series of instructions such as stitch type, direction, density, and order. The file typically contains complex data on aspects like underlay stitches, thread tension, and color sequencing, which are essential for ensuring the final embroidered design is precise, clean, and professional. Digitizing also requires an in-depth understanding of fabric characteristics, needle types, and machine capabilities to ensure optimal results.
In simpler terms, digitizing is like creating a blueprint for the embroidery machine. It takes a logo or design that might just be a picture on your computer screen and turns it into a set of clear instructions that tell the machine exactly how to stitch it onto fabric. The process helps the machine know where to start, which direction to go, and what kind of stitching to use, making sure your design looks sharp and consistent every time. It’s a crucial step in custom embroidery, as it ensures that even the most detailed logos come out looking perfect on shirts, jackets, and other apparel.
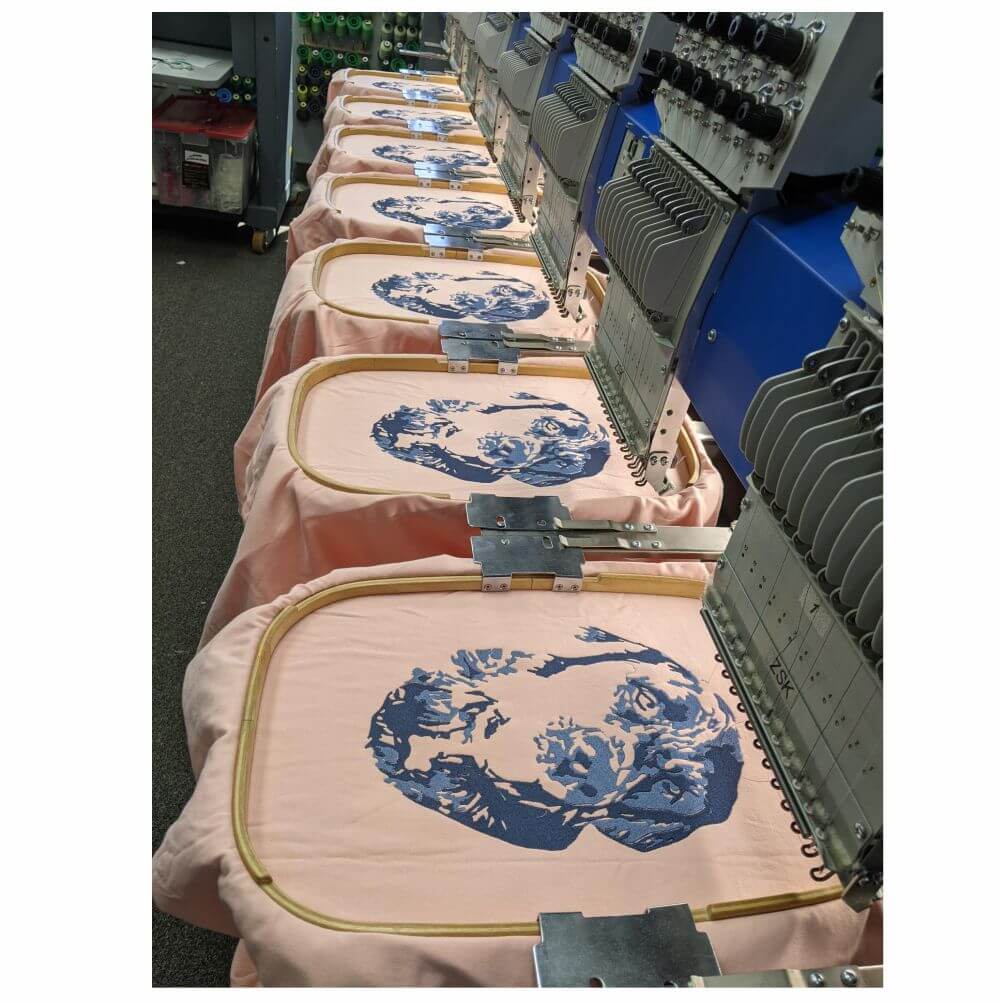
The next step is hooping. Hooping is a critical step in the embroidery process that involves securing the fabric in an embroidery hoop to ensure accurate and consistent stitching. The hoop consists of two parts: an inner and outer ring that clamp the fabric taut. The fabric is positioned between these rings to prevent movement during the stitching process, which could cause distortion or misalignment of the design. Achieving proper tension and alignment of the fabric within the hoop is essential for maintaining stitch quality. The use of stabilizers, such as tear-away or cut-away backing, may be necessary to support the fabric, especially for stretchy or lightweight materials, providing additional structure for the machine to work efficiently.
In simpler terms, hooping is like putting your fabric into a frame to hold it still while the embroidery machine does its work. Imagine how hard it would be to draw a picture if the paper kept moving around—hooping ensures that the fabric stays perfectly in place. By tightening the hoop, we keep the fabric smooth and prevent it from shifting, which could make the design look uneven. Stabilizers are like extra support that help the fabric stay firm, especially if it’s soft or stretchy. Proper hooping is key to making sure your custom embroidery turns out sharp and precise, whether it’s on a t-shirt, hat, or jacket.
Once the fabric is properly hooped, the next step in the embroidery process is positioning the hooped fabric onto the embroidery machine’s platen or embroidery arm. This requires precise alignment to ensure the design is stitched in the correct location. Calibration involves using the machine’s software interface to adjust the needle position relative to the hooped fabric. This step may involve using a reference point, such as the center of the hoop, to align the design’s origin point with the fabric. Ensuring proper placement of the design is crucial for accuracy and consistency, as even a slight misalignment can result in a crooked or off-center logo, which can detract from the overall professional appearance.
Finally, after the embroidery machine has completed the stitching, the last step is to perform a thorough inspection and touch-up process. This involves evaluating the finished design for any irregularities such as thread breaks, snags, or misaligned stitches. In cases where imperfections are found, manual correction is performed using specialized tools to remove excess threads or correct any misalignments. Additionally, any remaining hoop marks or fabric wrinkles are carefully steamed or ironed out to ensure a smooth, clean finish. Once the design is flawless, the garment is folded with care, ensuring it maintains its shape and quality.
Are you ready to bring your logo to life? Reach out by leaving an inquiry at our contact us page or give us a call at (661) 753-3720